Double Tap to Add a Transaction in Brim
With Back Tap (available since iOS 14) and iOS Shortcuts, you can add a transaction to Brim by simply double tapping the back of your iPhone. It takes about two minutes to set up.
It’s a two-step process: first create a shortcut, then assign it to the double tap action.
Step 1: Create the Shortcut
Open the Shortcuts App
Open the Shortcuts app on your iPhone — if you don’t have it, download it for free from the App Store.
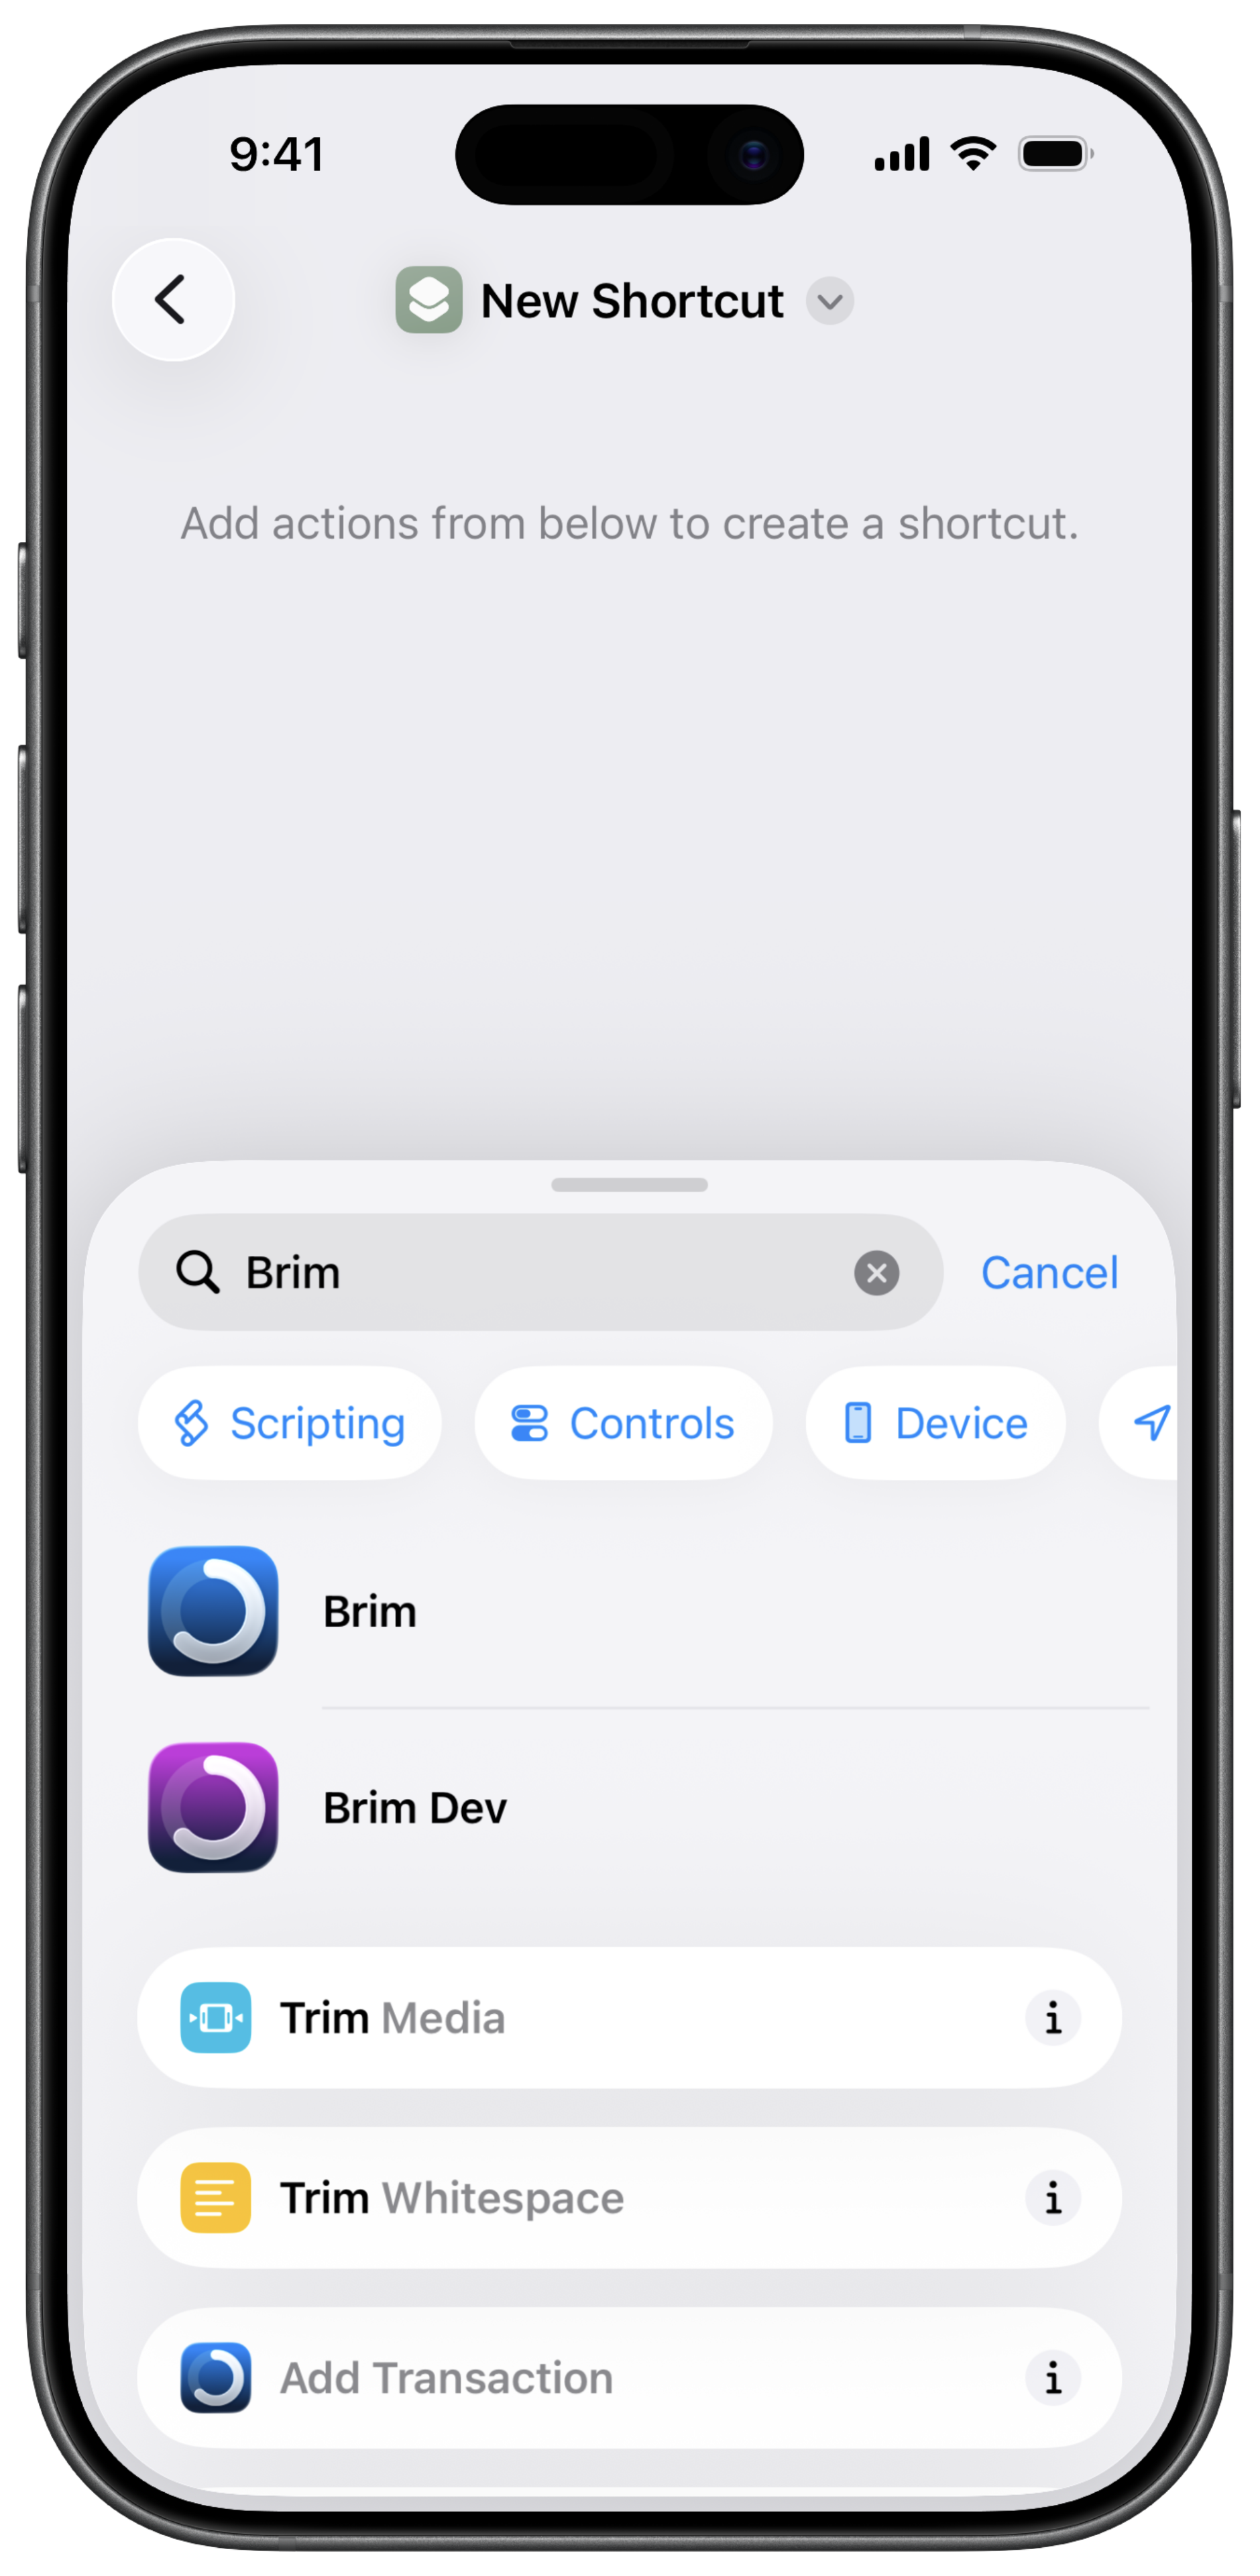
Tap the + button in the top right corner to create a new shortcut. In the search bar, type Brim.
Add the Brim Action
Tap on Brim in the results, then select Add Transaction. This is the action we’re going to configure.
Configure the Action
You can now set up each field of the transaction to your liking:
Type — Choose expense, income, or transfer.
Amount — Tap on the amount field and select Ask Each Time. This way, every time you double tap you’ll be prompted to enter the amount. This is the most useful setting.
Category — Either pick a fixed category in advance, or select Ask Each Time so you can choose on the fly.
Account — Same idea: set a default account or ask each time.
Note — Entirely up to you. Leaving it blank makes for faster entry.
Date — Tap the date field and select Current Date so you never have to enter it manually.
Show When Run — Displays a confirmation when the shortcut runs. Toggle it based on your preference.

Test It
Once everything is configured, tap the play button to run the shortcut and see how it looks before assigning it to the back tap.

Step 2: Assign the Shortcut to Double Tap
Go to Settings → Accessibility → Touch, then scroll down and tap Back Tap.
Tap Double Tap, scroll all the way down to the Shortcuts section, and select the shortcut you just created.
That’s it. Double tap the back of your iPhone and the shortcut will run instantly.
Need more help? Contact our support team.