Apple Pay Import (iOS 27)
Pay with Apple Pay, and the payment shows up in Brim by itself, in the right category. You set it up once, in about a minute.
How It Works
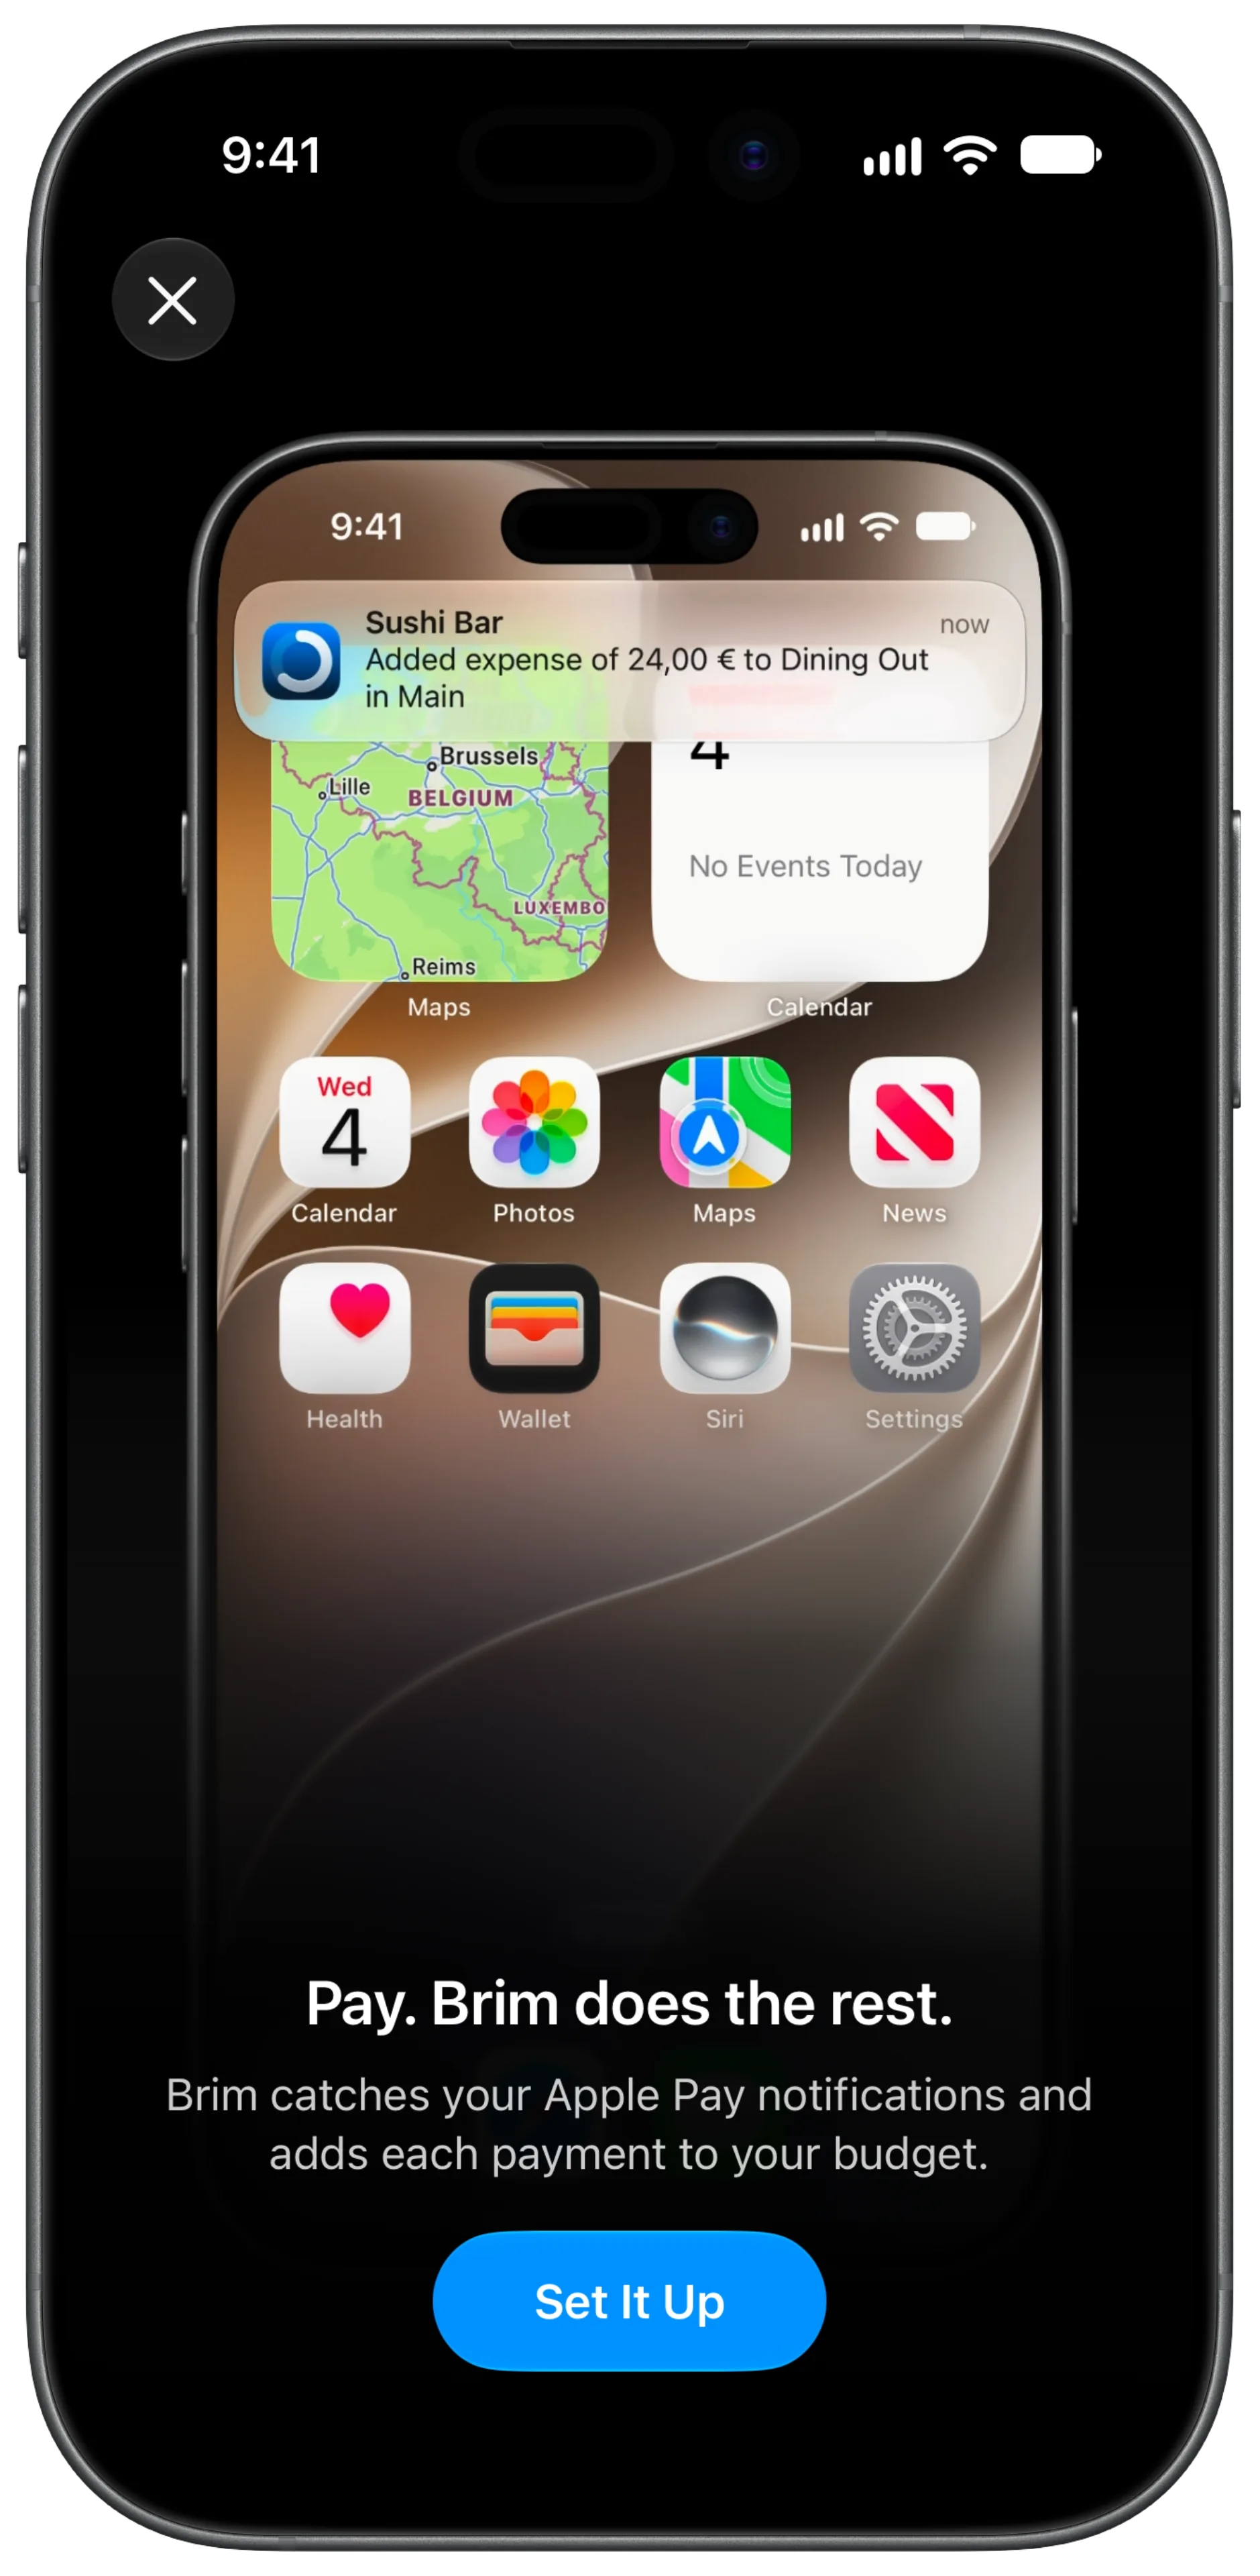
After every Apple Pay payment, Wallet shows a notification with the shop and the amount. A shortcut hands that notification to Brim, and Brim adds the payment for you. Brim only reads the payment notification: no bank login, nothing to connect.
What You Need
- An iPhone with iOS 27
- Brim 1.6 or later
- Apple Pay set up in Wallet with at least one card
- About one minute
On iOS 26 or earlier, use the Apple Pay Shortcuts guide instead.
Set It Up
Open the Setup Guide in Brim
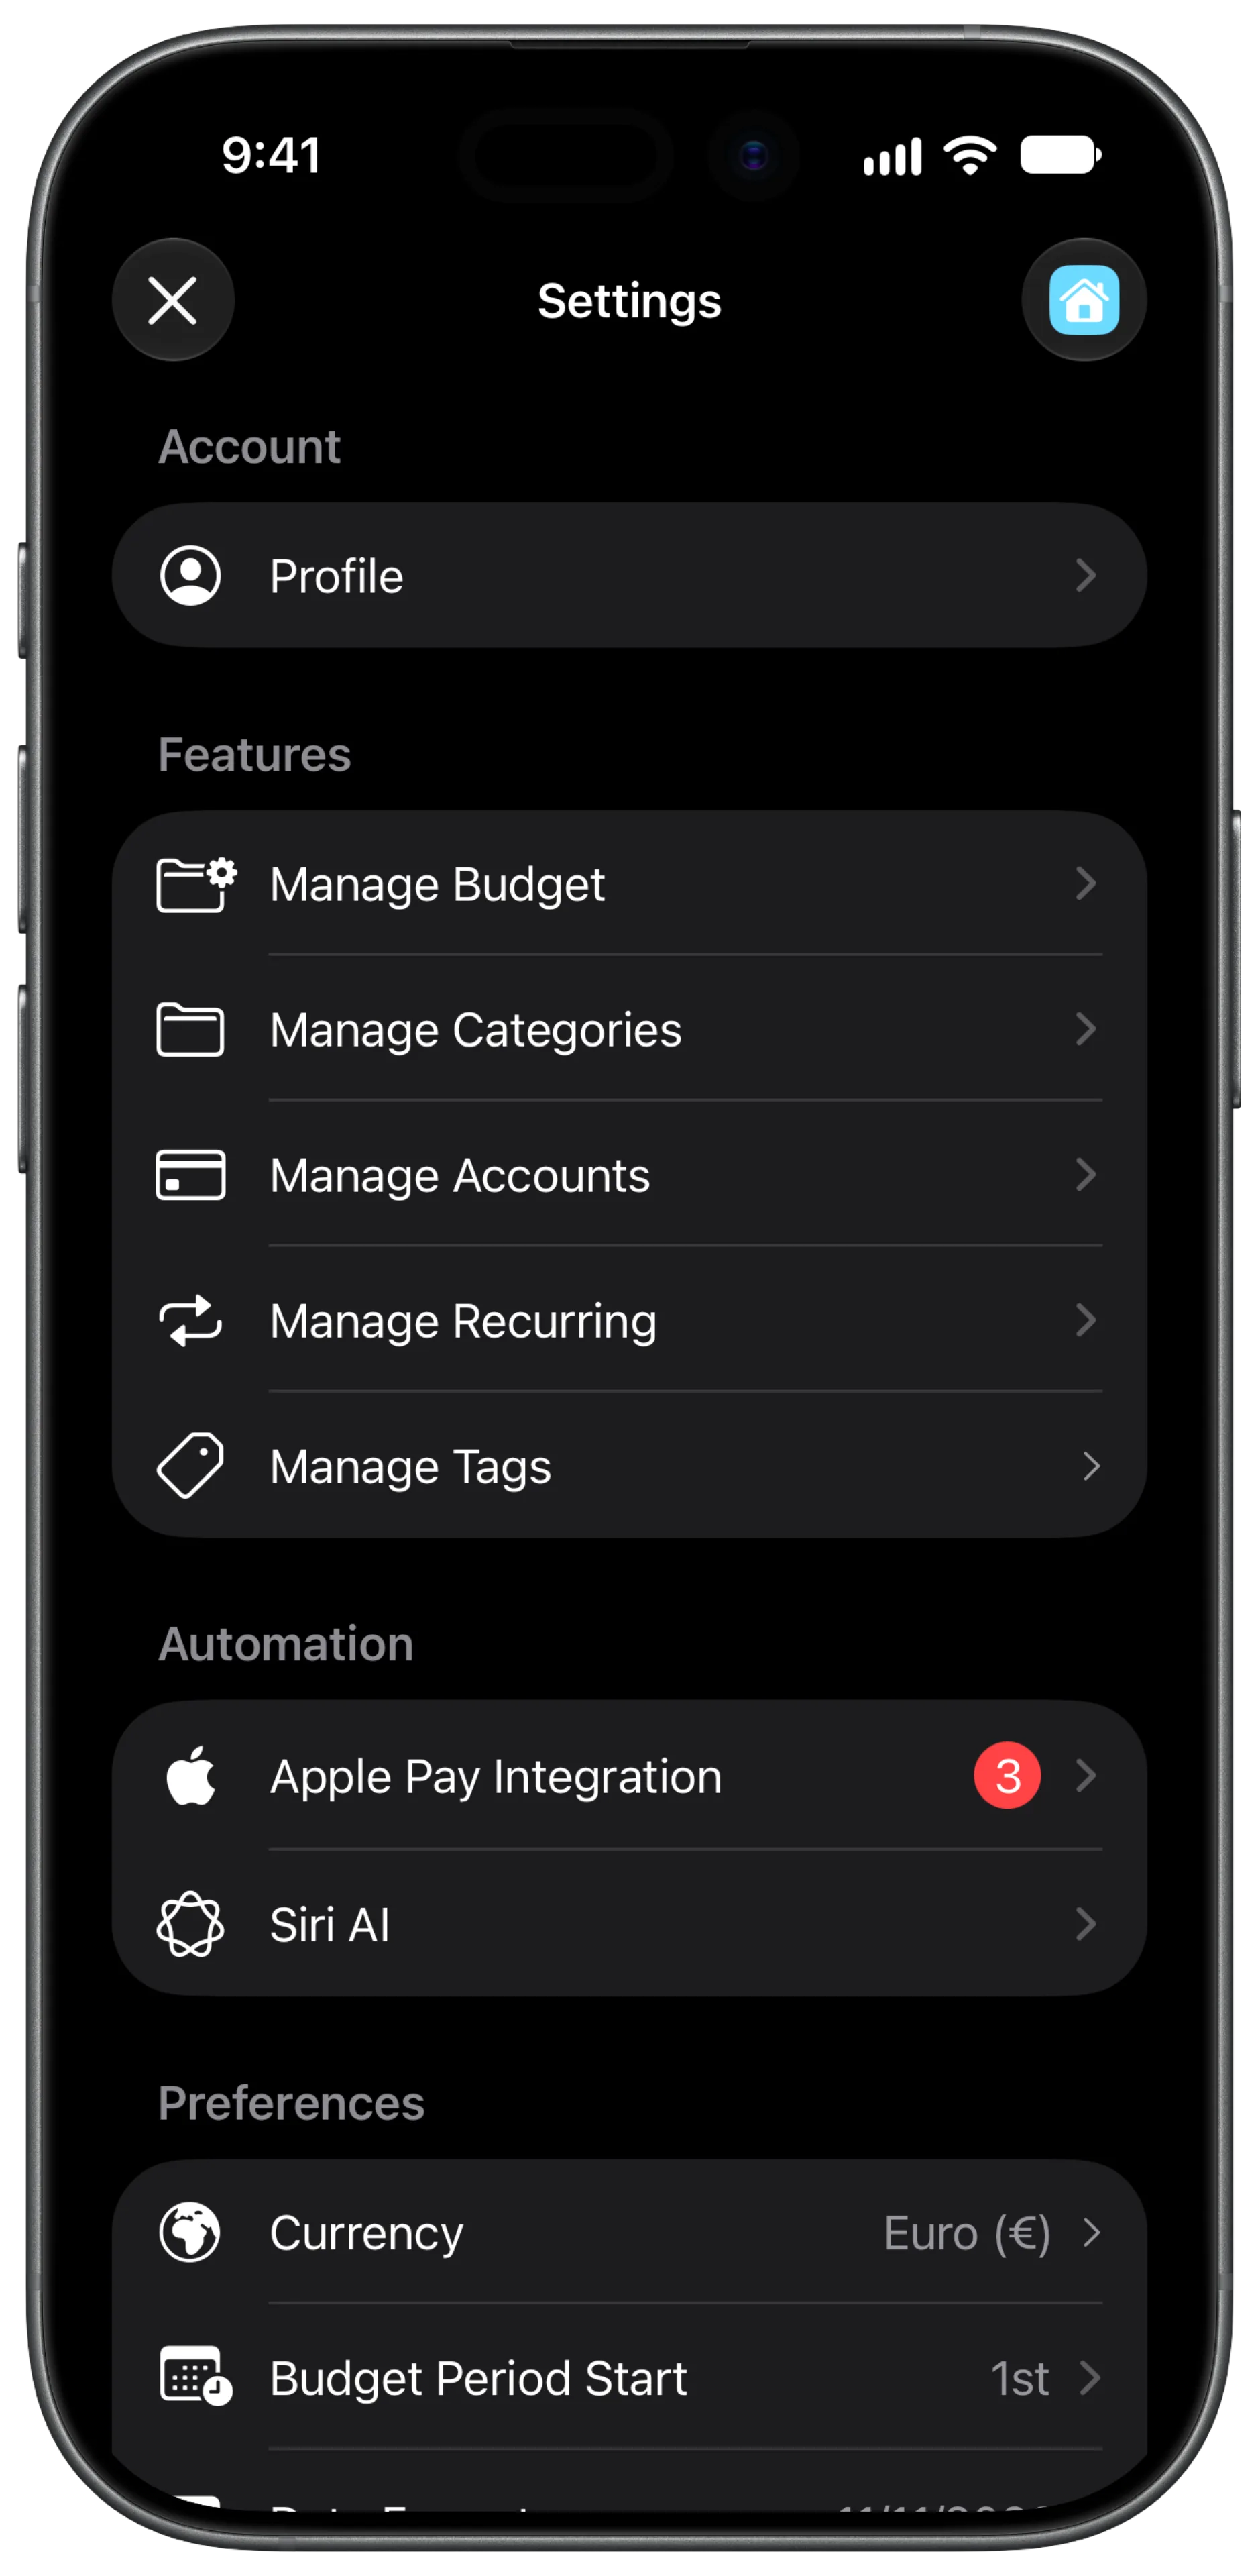
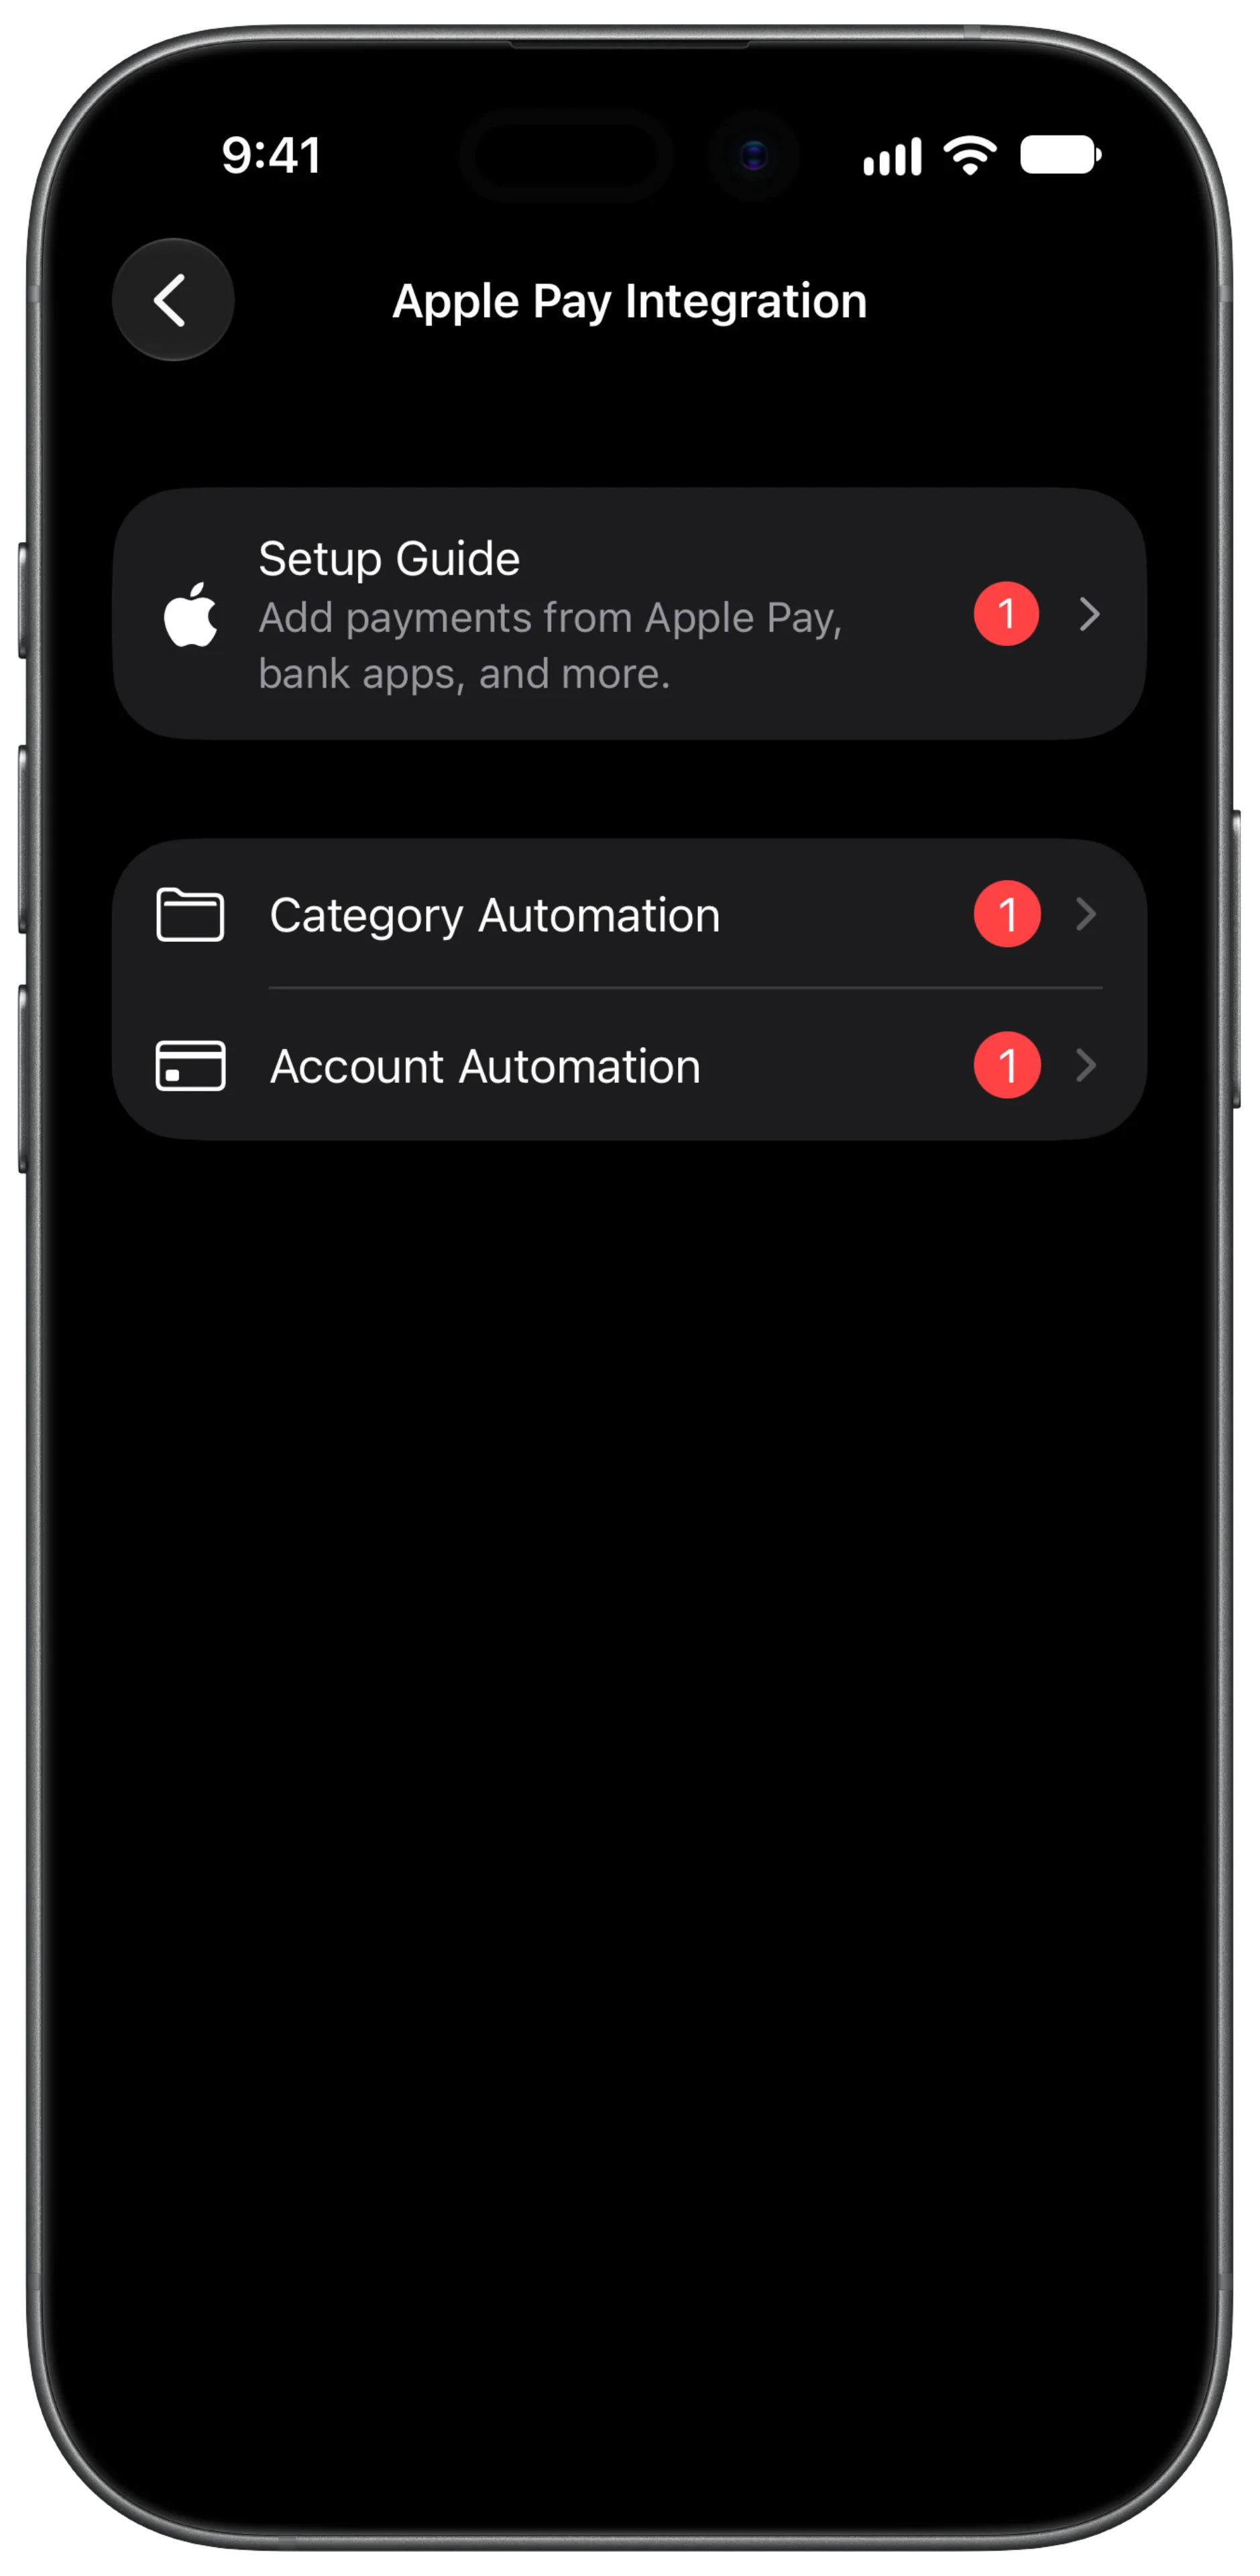
In Brim, tap Settings (top right of Home), then Apple Pay Integration, then Setup Guide.
You can also tap Set Up Apple Pay on the Apple Pay Import card on Home.
Tap Set It Up
The guide opens on “Pay. Brim does the rest.” Tap Set It Up. Brim walks you through the next three steps, and ticks each one off as you go.
Add the Shortcut
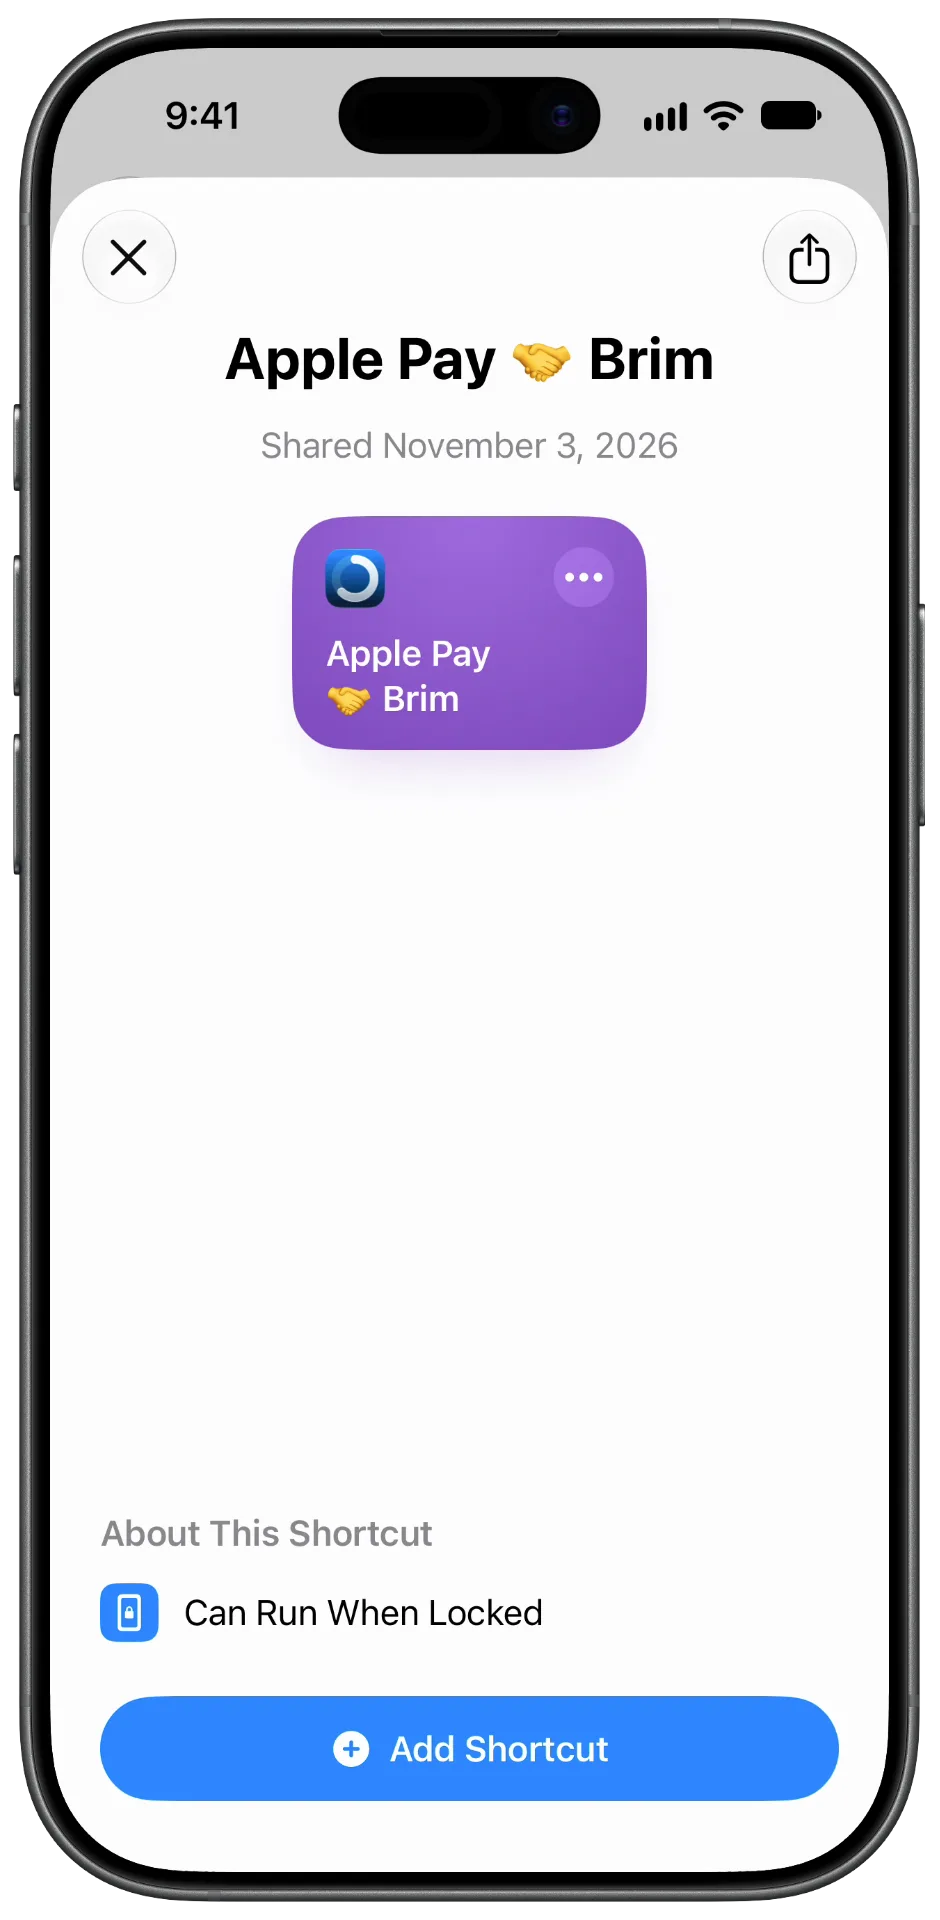
Tap Add Shortcut in Brim. The Apple Pay 🤝 Brim shortcut opens in the Shortcuts app. Tap Add Shortcut at the bottom, then come back to Brim.
Reading this on your iPhone? You can also add it from here: Apple Pay 🤝 Brim shortcut.
Run It Once and Tap Allow
Back in Brim, tap Run the Shortcut. Shortcuts asks once if the shortcut can use Brim: tap Allow. You’ll see Brim is connected. Tap Done, then come back to Brim.
If Brim says “Not connected yet”, run it again and tap Allow.
Turn On the Automation
Tap Open the Shortcut. In Shortcuts, tap Edit, then the small arrow beside Wallet, and turn on Automation. Come back to Brim and tap Continue.
This is the step that makes it run on its own. Leave Notify off, or you’ll get a Shortcuts notification after every payment.
You’re all set. Your next Apple Pay payment shows up in Brim by itself. Brim sends you a notification when the first one arrives, so you know it works.
Categories, Chosen for You
The first time you pay somewhere, Brim doesn’t know its category yet. The payment is saved and waits on Home, behind a to review button. Tap it, pick the category, then tap Always. Every next payment there is filed for you.
To see or change your rules, go to Settings → Apple Pay Integration → Category Automation. It shows which merchants go to which category.
Which Account Payments Go To
Each payment goes to the account linked to the card you paid with. The first time Brim sees a card, the payment goes to your default spending account and waits for you to confirm the account. Pick the right one and tap Always: from then on, that card’s payments go there.
To see or change these links, go to Settings → Apple Pay Integration → Account Automation.
Good to Know
- Every card in Wallet works. The automation listens to Wallet, so there’s nothing to set up per card.
- Your bank’s app can join in. On the Turn On the Automation step, tap + beside Wallet and add your bank’s app. Payments it notifies you about are added too.
- Already using the older Wallet shortcut? You can delete that automation: Apple Pay Import does the same job and sorts the payment for you. If both run, Brim keeps one copy.
- Payments arrive even when your iPhone is locked. The shortcut can run when locked, and Brim never stops to ask you anything at the till.
Troubleshooting
A payment didn’t show up
- Open Shortcuts, open Apple Pay 🤝 Brim, tap Edit and check that Automation is on (Step 5)
- Check that Wallet’s notifications are on: Settings → Notifications → Wallet
- Run the setup again from Settings → Apple Pay Integration → Setup Guide. Brim shows which steps are already done
Brim says “Not connected yet”
- Run the shortcut again from Brim and tap Allow when Shortcuts asks
A payment went to the wrong category
- Open it and change the category. To change where that merchant always goes, use Category Automation
Need more help? Contact our support team.